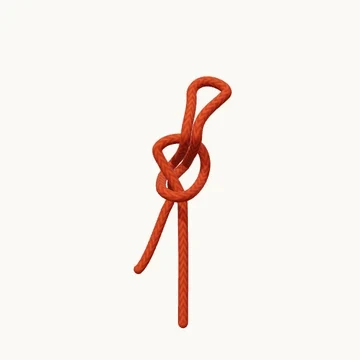
Make a quick-release overhand knot by passing a folded working end through the opening.
Also known as Slipped overhand.
A slip knot replaces the final end-through-loop pass of an overhand knot with a bight. The folded working end forms the small loop; pulling the free tail draws that fold back out and releases the knot. It is a useful way to learn what “slipped” means in other knots.
The identity of the folded part matters. In this lesson the fold belongs to the working end. Folding the standing part instead makes a noose that closes under a different pull. Trace both ends before relying on a name, since everyday use of “slip knot” often includes both arrangements.
When to use it
- Start a temporary tie that should release from its tail.
- Practice forming and passing a bight without threading the whole end.
Keep in mind
The release tail must remain free of accidental pulls. Use a fixed loop when you need an attachment that must not spill.
Check your knot
- The folded working end passes through the overhand opening.
- The free tail releases the fold.
- The intended pull does not accidentally withdraw the bight.