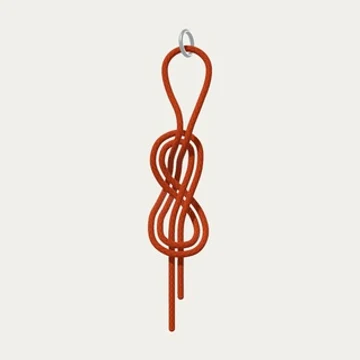
Figure Eight Follow-Through
Thread an attachment, then retrace a figure eight to form a fixed loop.
WHEN TO USE IT
- Make a fixed loop through a closed attachment point.
KEEP IN MIND
Follow the original path completely and keep paired strands neatly alongside each other.
Step-by-step
- Leave a long working end
Start with one strand. The free end will form the knot, go around the attachment, and retrace it.
- Make the first loop
Bring the end up, over the top, and down on the left.
- Cross behind the standing part
Take the end across the back of the standing part and down to the right.
- Round the lower turn
Bring the end around the lower turn, across the front of the standing part, and up on the left.
- Complete the first figure eight
Go behind the upper left arm, through the opening, and forward over the upper arch.
- Reach the attachment
Extend the working end up the left side of the future loop.
- Pass through the ring
Feed the free end through the metal opening from left to right, then turn it downward.
- Follow the original end back
Bring the end down beside the first outgoing strand toward the upper opening.
- Return through the upper opening
Follow the first strand backward, through the same opening and behind the upper left arm.
- Retrace the lower turn
Follow the lower curve around the front of the standing part, keeping the two strands beside each other.
- Retrace the upper turn
Continue behind the standing part, around the upper arch, and down its right side.
- Bring out the tail
Follow the standing part downward. Leave a visible tail beside it.
- Check both strands
Each part of the figure eight is doubled. The strands follow each other, and the attachment sits inside the upper loop.