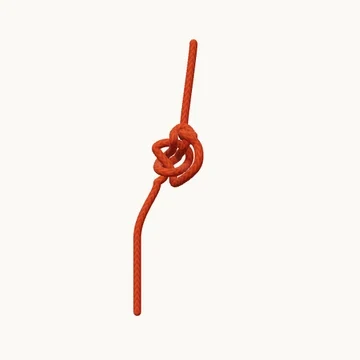
Build a broad stopper by passing the free end through an overhand noose.
Also known as Oysterman’s stopper.
The Ashley stopper develops a broader bearing face than a simple overhand. Begin with an overhand noose whose small bight belongs to the standing part. Feed the working end through that bight, then draw the parts into the stopper’s three-lobed arrangement.
The lesson starts with the loose noose already formed so the final end-through-bight pass is easy to inspect. Using a slipped working-end bight instead is a different starting structure. Trace which end controls the noose before making the final pass.
When to use it
- Make a broad end stopper for a suitable opening.
- Practice identifying the standing-part bight in an overhand noose.
Keep in mind
Draw the loose structure together carefully; an open knot is not a finished stopper. Check the actual fit against the opening it must block.
Check your knot
- The starting noose is formed from the standing part.
- The free end passes through its small bight.
- The dressed stopper has an even bearing face and a visible tail.