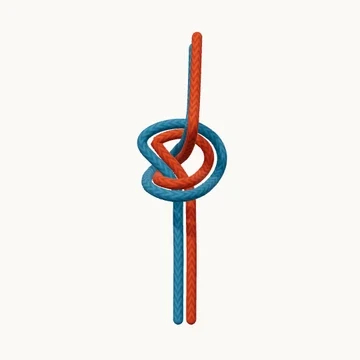
Join two ends by retracing an overhand knot, keeping every strand parallel through the bend.
Also known as Tape knot, Ring bend, Overhand follow-through.
The water knot begins with a loose overhand in one end. The second end follows that route backward, entering beside the first tail and leaving beside the first standing part. It is especially associated with flat webbing, where the two straps should lie smoothly against each other without twists.
The two standing parts exit at opposite ends of the finished bend. That distinguishes a rethreaded water knot from an offset overhand tied with both ends together. Before tightening, follow each strap through the whole knot and check both tails.
When to use it
- Join compatible webbing ends.
- Learn the overhand follow-through route before more complex rethreaded bends.
Keep in mind
Cyclic loading or a snag can loosen a water knot. Leave long tails and inspect before each use. Critical webbing systems require practical instruction and material-specific guidance.
Check your knot
- The second end follows the entire first overhand backward.
- The strands remain parallel and webbing stays flat.
- Both tails extend well beyond opposite sides of the knot.