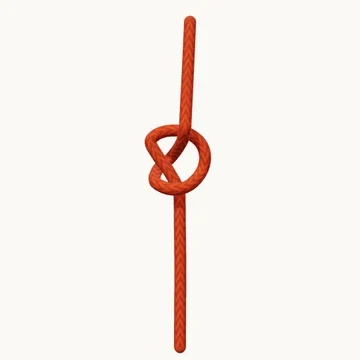
A small stopper and the starting point for many other knots.
Also known as Thumb knot.
An overhand is formed by making one loop and passing the end through it. The crossing and the final tuck are the same building blocks used in many larger knots, so learning to trace this small knot makes the rest of the library easier to follow.
As an end stopper it is quick and compact. That small size is also its limitation: it may pass through an opening that needs a larger stopper, and it can become hard to undo after tightening. Compare the double overhand before choosing a bulkier option.
When to use it
Stop a cord end from pulling through a small opening.
Keep in mind
Can jam tightly; use a larger stopper when the opening requires it.
Check your knot
- The end passes completely through the loop.
- The two parts pull against the knot rather than merely crossing.
- The dressed stopper is larger than the opening it must block.